
Creating jobs
In versiondog, it is possible to execute jobs according to a schedule. A job certifies whether the program running on a device is the same as the most recently checked in version on the server.
Note
The job result for Schneider Concept (backup) is not suitable for disaster recovery.
In order to configure versiondog jobs for devices using Schneider Concept, proceed as follows
- Start the AdminClient and open the Jobs module.
- In the Project tree, select the Schneider Concept component.
- Create a job with the Schneider Concept upload type.
- Make sure the desired settings are in place for the following sections: General, Notification, Upload and compare, Create a version automatically after job run. The Notification and Create a version automatically after job run sections are only displayed if the necessary settings have been implemented.
- Configure the Schneider Concept Settings
- Use the Project drop-down menu to select the Schneider Concept project. This step is only required if more than one Schneider Concept project is present in the component.
- Use the Access Path drop-down menu to select the path for communicating with the device. Select from the following:
The option BridgedModbusPlus is only available if you have selected the path:
PC->[TCP/IP]->Gateway->[MODBUS+]->PLC
    - **PC->[TCP/IP]->PLC**
    - **PC->[TCP/IP]->Gateway->[MODBUS+]->PLC**
1. In **Device**, enter the IP address or name of the device.
1. In **Special options**, you have the option to configure a delay ranging from 0 ms to 5000ms by selecting the option **Sleep between two subsequent frames (in ms)**. The default value is 0 ms. We recommend using higher values if errors or transmission errors arise.
Note
When creating jobs, uploading as well as comparing in the UserClientthe following error message with error code **ID
126** may occur.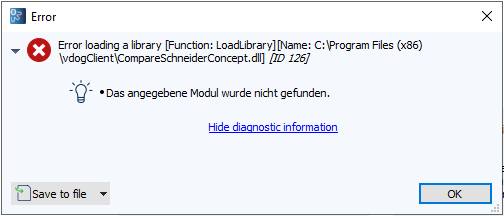 Image: Error message Error 126
In that case, proceed as follows:
- Stop the MasterService service under Control Panel > Administrative Tools > Services.
- Copy the file msvcr71.dll from the directory with the current installation files, subdirectory toolsMicrosoft(Example:
Z:versiondog 9.0.09_0_0_0toolsMicrosoft). - Paste the copied file in the program directory into the directories vdogServer and vdogClient or, if you use agents, vdogAgents.(Example:
C:Program Files (x86)vdogServer,C:Program Files (x86)vdogClientoderC:Program Files (x86)vdogAgents). - Restart the MasterService.
Related Topics
Last update: September 15, 2023