
Creating a boot device
Note
The creation of a boot stick with the Image Service is possible by default from version 7.5 onwards. You can
download an application for this with the appropriate access data from our website at https://my.auvesy-mdt.com/home.html.
Requirements
- The boot stick can only be created on computers with the Windows 10 operating system. Depending on the system on which the boot stick is created, it will be either 32-bit or 64-bit capable.
Examples:
-
Creation on a Windows 10 32-bit system:
-
A 32-bit version of the boot stick is created.
-
This allows 32-bit UEFI and BIOS PCs as well as 64-bit BIOS PCs to be started.
-
Creation on a Windows 10 64-bit system:
-
A 64-bit version of the boot stick is created.
-
This allows 64-bit UEFI and BIOS PCs to be started.
-
We recommend using an USB stick with at least 8 GB of storage space.
Procedure
-
Execute the application Bootstick-creator.exe as Administrator
-
The boot device creation wizard will start with the following message:
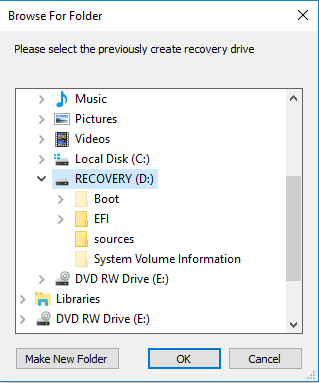
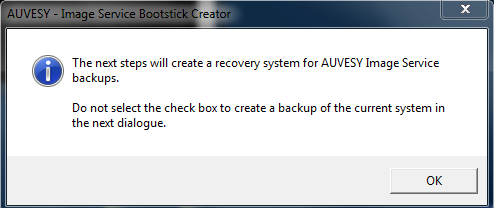 4. Confirm the changes by clicking on OK. 5. Make sure to clear the checkbox in the window Create a recovery drive to avoid backing up the system files 6. In the section Select USB stick, select the drive you want to use. 7. In the dialog The recovery drive is ready, end the task by clicking on Finish. 8. After the wizard has finished, you will be asked again for the USB drive. Select the drive here that you also selected when you ran the wizard in step 5.
 10. The boot stick can now be used.
The image can be saved directly on the USB stick as well as on a network share or a hard disk. When booting the operating system, the image can then be selected accordingly.